Pinterest is a popular network that is often used by educators to easily share and curate resources. You can link from your blog to your Pinterest boards, but often bloggers like to embed specific pins or entire boards into their blog to create a better user experience for their readers.
Pinterest makes this easy to accomplish. You can embed either pins or boards into your blog in just a few steps. Below, we’ll first cover the options for embedding a single pin on your blog and then move on to embedding an entire board.
Embedding A Pin On Your Blog
The first step in embedding a single pin from Pinterest is to copy the URL of the pin you want to embed.

Adding A Pin To A Widget
If you want to add the pin as a sidebar widget, you will then want to go to Pinterest’s Widget Builder. You may want to bookmark the Widget Builder URL because there is no obvious way to navigate there from the main Pinterest site or from a Pinterest profile page.
Once you are on the Widget Builder page, you’ll want to click the Pin Widget button and paste the URL of the pin you want to embed into the Pin URL field.
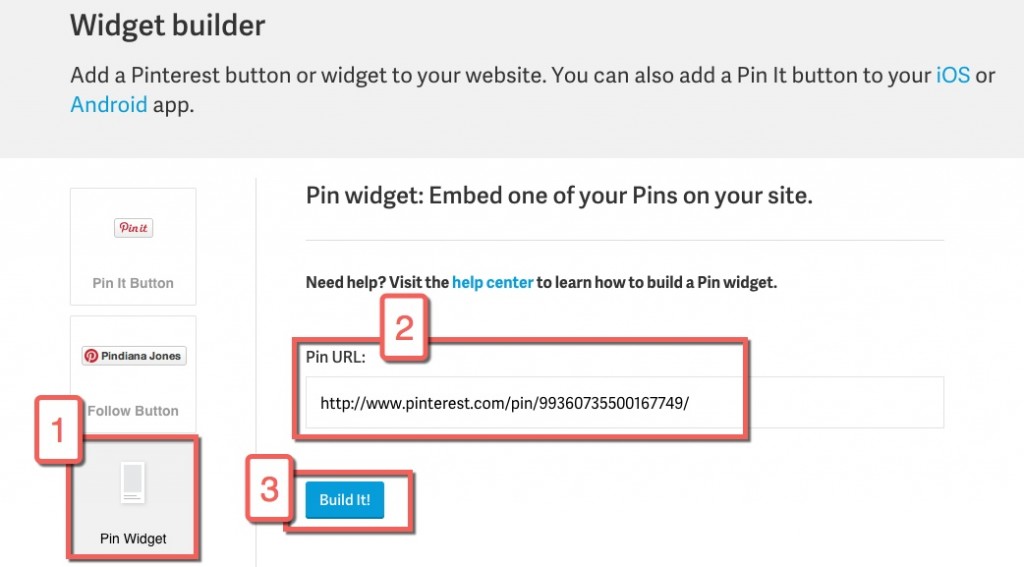
After you click the Build It button, you will be shown a preview of the widget and provided with embed code that you can copy and paste into your site.
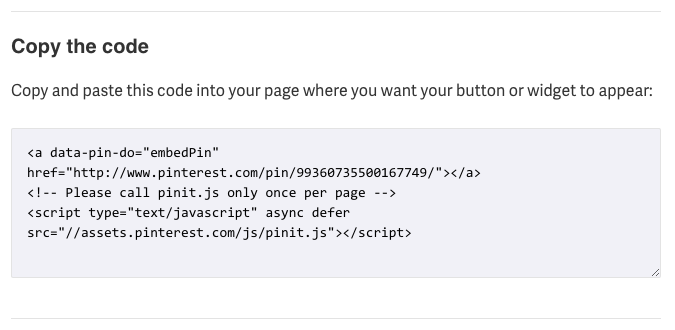
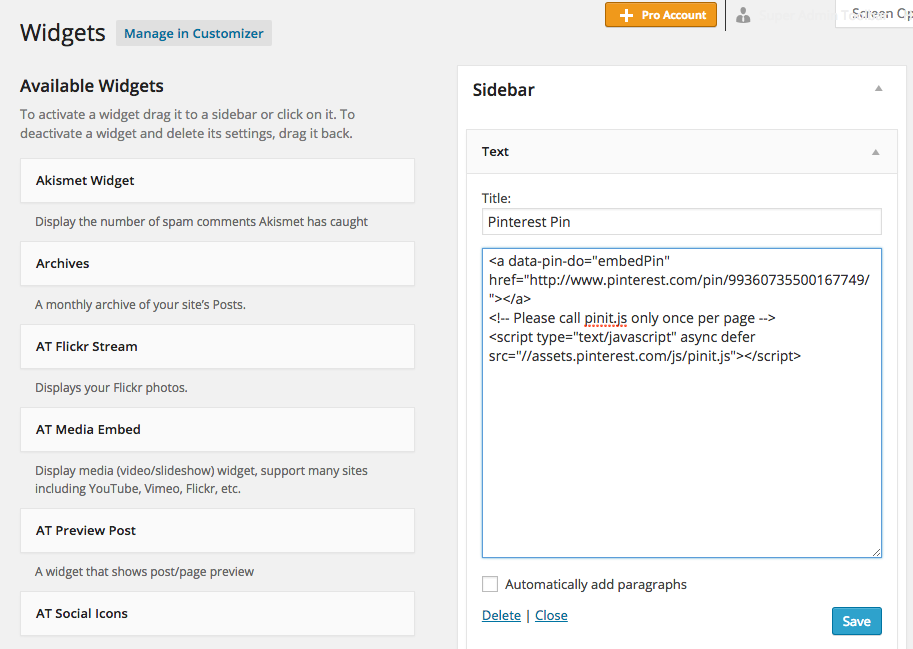
Once you copy that code, you can paste it into a Text widget. To do that, go to Appearance > Widgets, add a Text widget to your sidebar or other active widget area, paste the embed code into the widget, and save it.
Adding A Pin To A Post or Page
You can also embed your pin directly into a post or page. To do that, create a new post or page, or open the existing post/page to edit it. Then, paste the pin’s URL directly into your post.
There are a couple important things to note about pasting in the URL. First, the pin URL should be pasted onto a line all by itself without anything before or after it. For more URL embed tips, you can check out our previous post Embed Content With Just A URL.
Second, the URL you copied was a secure https URL. You will need to edit it so that it is an http URL, or else it will not work.
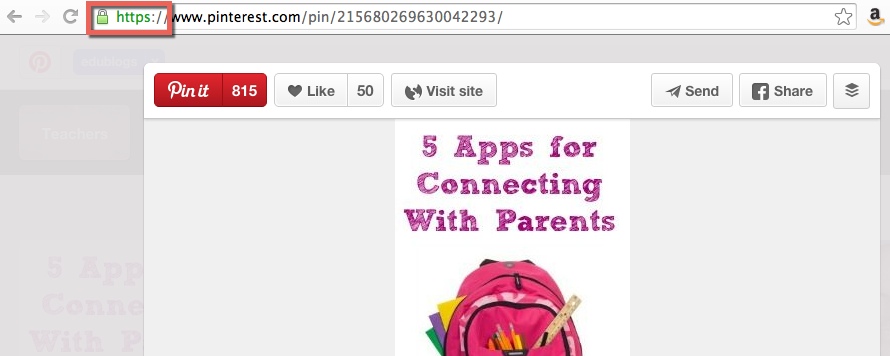
Once the URL has been pasted into your blog, you will just see the URL in the post. This will then update and you will see a preview box.
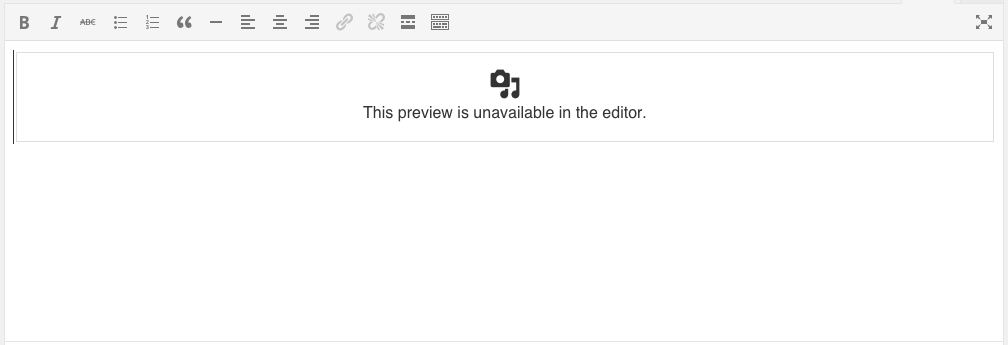
Once the post has been saved, published or updated, you will continue to see the preview box in editing mode, but the pin will appear in the live version of the post.
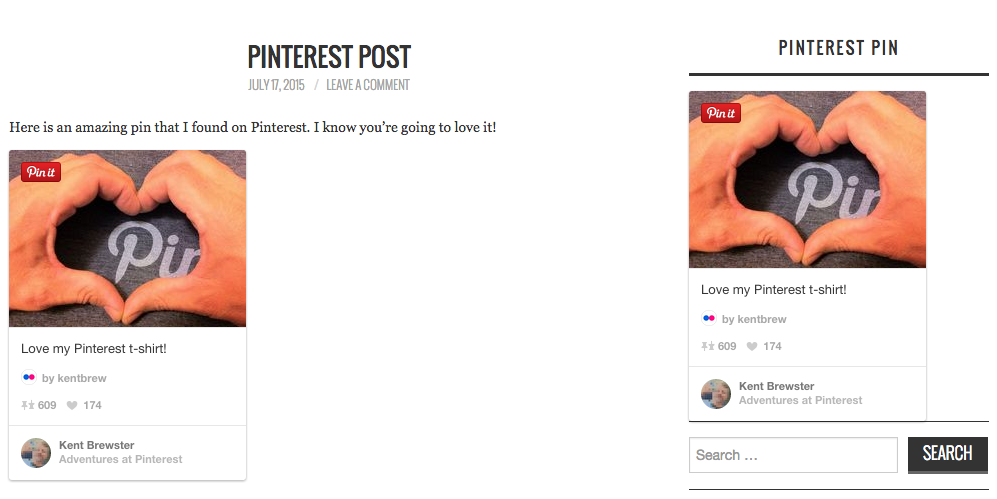
This screenshot shows a pin embedded in both my post and in my sidebar widget.
Embedding A Pinterest Board On Your Blog
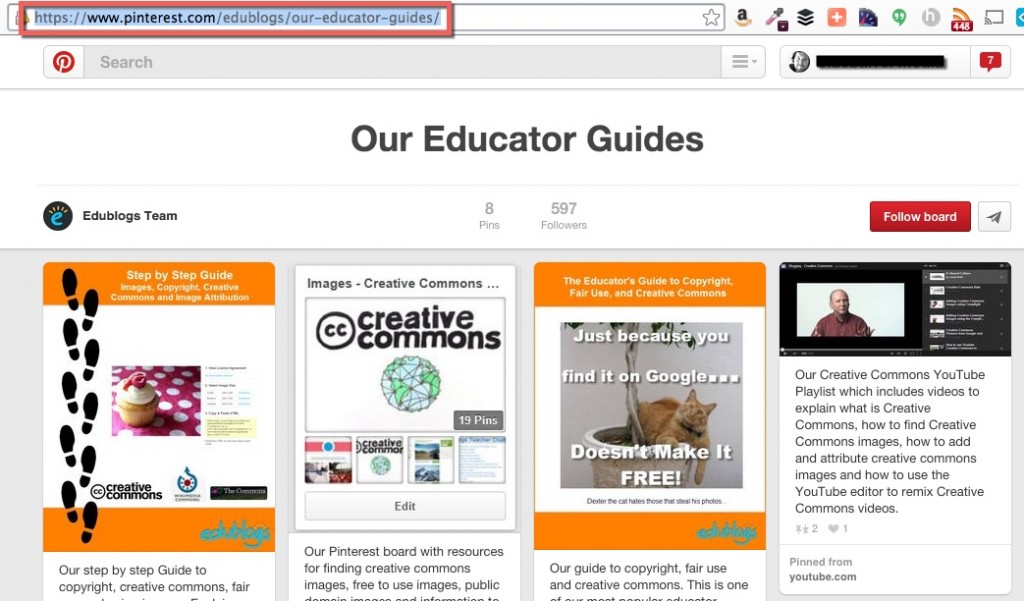
The process for embedding a Pinterest Board on your blog is the pretty much same as the one above for embedding a single pin. There are only a couple differences. First, you will be copying the URL for an entire board, not just a single pin.
Adding A Pinterest Board To A Widget
Next, you will want to use the Board Widget button on the Widget Builder page instead of the Pin Widget button. You’ll notice that the Board Widget allows you to choose from a variety of preset sizes or you can “Roll Your Own” and set the size yourself.
You will want to use the Sidebar option if you are going to place the widget in your sidebar. The Square and Header sizes are better suited for embedding into a post or page.

Once you choose a size, you will see a preview of the widget. Once you are happy with your selection, click the Build It button and then copy the embed code that is generated.
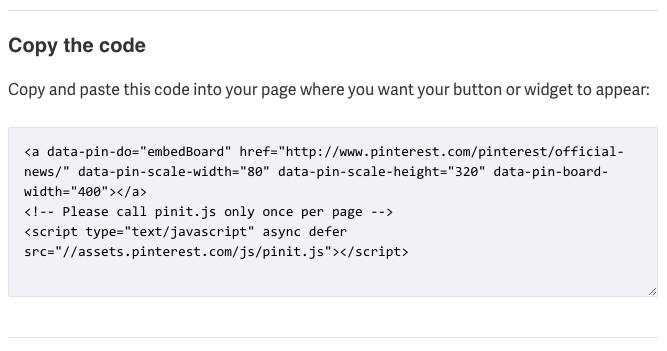
Just as with the embed code for a Pin, you can now paste this embed code into a Text widget and save it.
Adding A Pinterest Board To A Post Or Page
Embedding a Pinterest board into your blog is just like inserting a single pin into a post or page; the simplest way to do it is to paste the board’s URL into your post or page. If you skipped down to this section, refer to the “Adding A Pin To A Post or Page” section above for the steps.
Just like with an individual pin, you will want to make sure the board’s URL is changed from https to http and pasted into your page on a line all by itself.
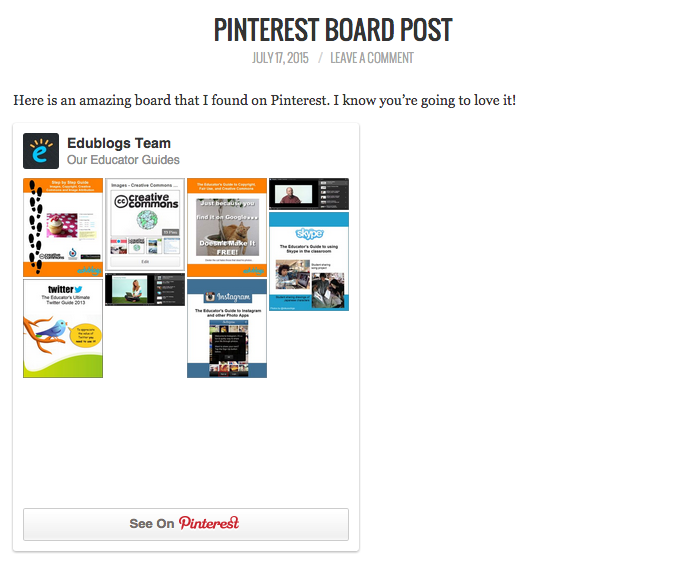
Once your board’s URL is inserted and the post is saved, the board will now be embedded in your post. Just like with the pin, you will not see the board while editing. Rather you will see a preview box. You can see the board by saving your draft and previewing the post.
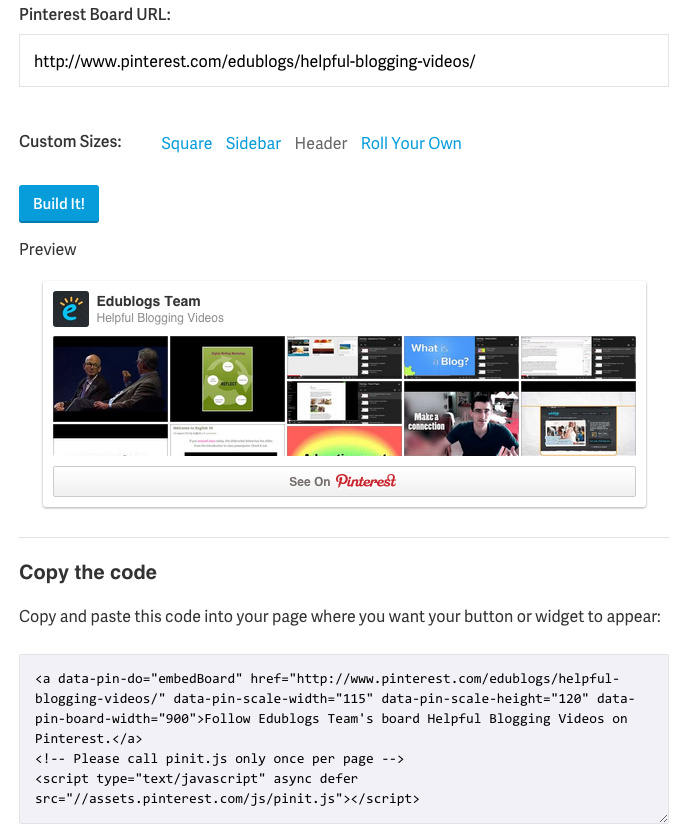
If you decide you want to embed a Pinterest board using one of the Widget Builder’s preset sizes, you can always generate embed code for a Square or Header sized Board Widget.
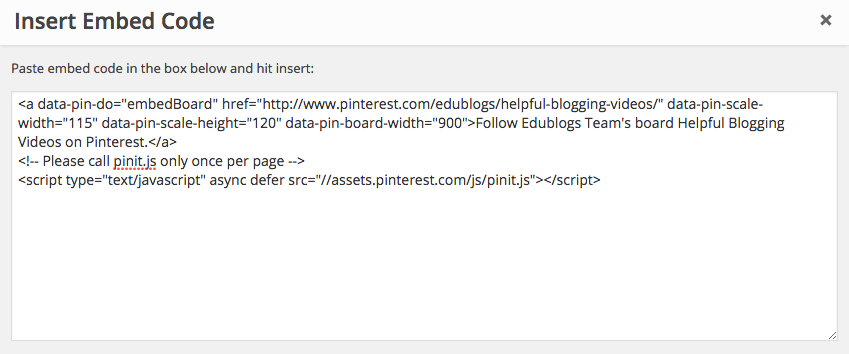
 You would then copy the embed code the Widget Builder generates. In your post, click the Add Media button and use the Insert Embed Code option rather than the Insert from URL option.
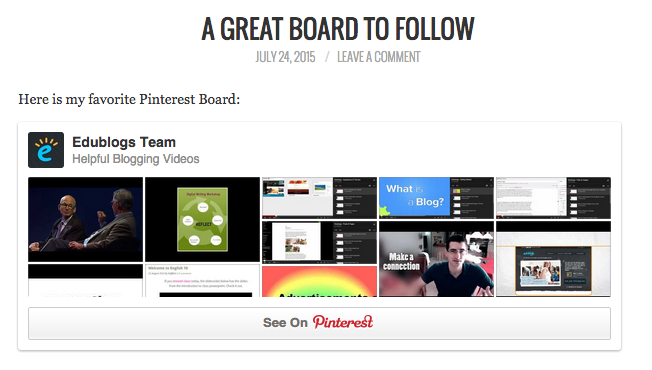
This will embed the formatted Pinterest board into your post.
That’s really all there is to it. This is a nice, simple way to add some wonderful visual content to your blog and to easily share resources that you or your colleagues have curated on Pinterest.
Using Pinterest Embeds, you can quickly create helpful posts for your students like “Pinterest’s Top 5 Civil War Boards,” or one for your colleagues such as “Top 10 Pinterest Boards For Connected Educators.”
If you create a post like this, or already have one published, leave a link in the comments. We’d love to take a look!
And, you can click here if you want to see what other content can be embedded in your blog using just a URL

Great info! Im building a craft website and wanted to know if I could post other peoples pins on my blog. I’m not looking to take credit but to provide a resource. Can I do that?
Hi Tina,
You can embed pins on your blog, just avoid copying and posting the images.
Glad this post was helpful!
Kathleen
yeah, I learned that the hard way.
This helped, Thanks
I am trying to embed the widget into my wordpress.com site, but when I put the code into a text widget in my sidebar, it shows only the text on my site, not my pins. Any advices?
Thank you Jason for making this easy for me. I have just started blogging and this post is going to be very useful for me.
Do you need to ask permission from original pinner to embed their pin or board in your own blog post?
Just wondered if you have tried this lately? I’ve been trying to add a pin to some photographs today and (a) noticed that the url has changed though both your link and my link go to the new url, and (b) the layout of the page is different. I can add a pin, but when I try to pin the photo to my pinterest board, it shows for an instant and then changes to a blank outline.
Your explanation seems easy, but I have tried several times and it has not worked. Just the line of URL shows.
The same for me, the pinterest text widget simply does not work at all. I tried what you describe in your post over and over again and no way to make it works. If somebody finds the way, please tell us!
This definitely did not work for me at all. I put the URL on its own line and I changed the URL to http format, all that happened was the url text came through. No picture. No nothing.
Same here. Perhaps it’s to do with our themes? Frustrating, though.
Very detailed tutorial. I don’t use Pinterest myself much, but I’m sure my readers will appreciate this tutorial. Pinterest is great place for bloggers to be at. I’m looking to explore it further for my audience.
Thanks for the information!