Teaching and visuals go hand in hand!
Using visual aids has always been a solid strategy for engaging students and supporting learning. Clearly designed visuals can also streamline communication across the whole school community.
In the past, we had to often settle for purchasing impersonal visuals or laboriously making our own.
 There are now a number of free online tools that allow you to make all sorts of professional-looking graphics. My favorite one is Canva!
Teachers are not the only ones who can benefit from using Canva. We are now saturated with visual media and it’s becoming increasingly important for students to have strong visual literacy skills. Canva can help students communicate messages and tell stories in a variety of ways.
This post explains how to get started with the free version of Canva. I offer 10 examples of the sorts of things you can make for your classroom with Canva.
And if you think you have zero design skills, don’t worry! It’s not a problem with Canva and I have some tips that will help you look like a pro in no time.
Canva Basics
This is Canva in a nutshell:
- Canva has millions of users worldwide and is popular in many industries, including education.
- Students under 13 can use Canva if they’re ‘appropriately supervised’. (Read Richard Byrne’s post about this topic for further clarification).
- Canva is a web-based tool but there are also apps for Android and iOS.
- The free plan allows you to make unlimited creations and download them in high quality without watermarks. This sets Canva apart from some similar tools.
- The paid ‘Canva for Work‘ plan gives you access to more templates, images, and icons etc. It also allows you to resize your design without starting again (e.g. you might make something in A4 size then want a smaller version to share on social media). Additionally, you can download your designs with a transparent background (handy for logos, badges, buttons etc.).
- Canva uses a drag and drop interface which is very simple to use but like all tools, does require a little bit of playing around to develop fluency. It’s worth the investment in time!
- In December 2019, Canva introduced a video editor to its range of tools. Read more about the 2020 updates here.
Great news! As of December 2019, the paid premium version of Canva is now free for teachers and students. Read more here.
Getting Started With Canva
The first thing you’ll need to do is sign up for a free Canva account.
Head to https://www.canva.com. From here you’ll be asked to enter your name and select your purpose for using Canva.
You can then sign up with your Facebook account, Google account, or email.
There are a number of ways you can learn how to use Canva. Like any tool, spending some time ‘playing around’ can be helpful.
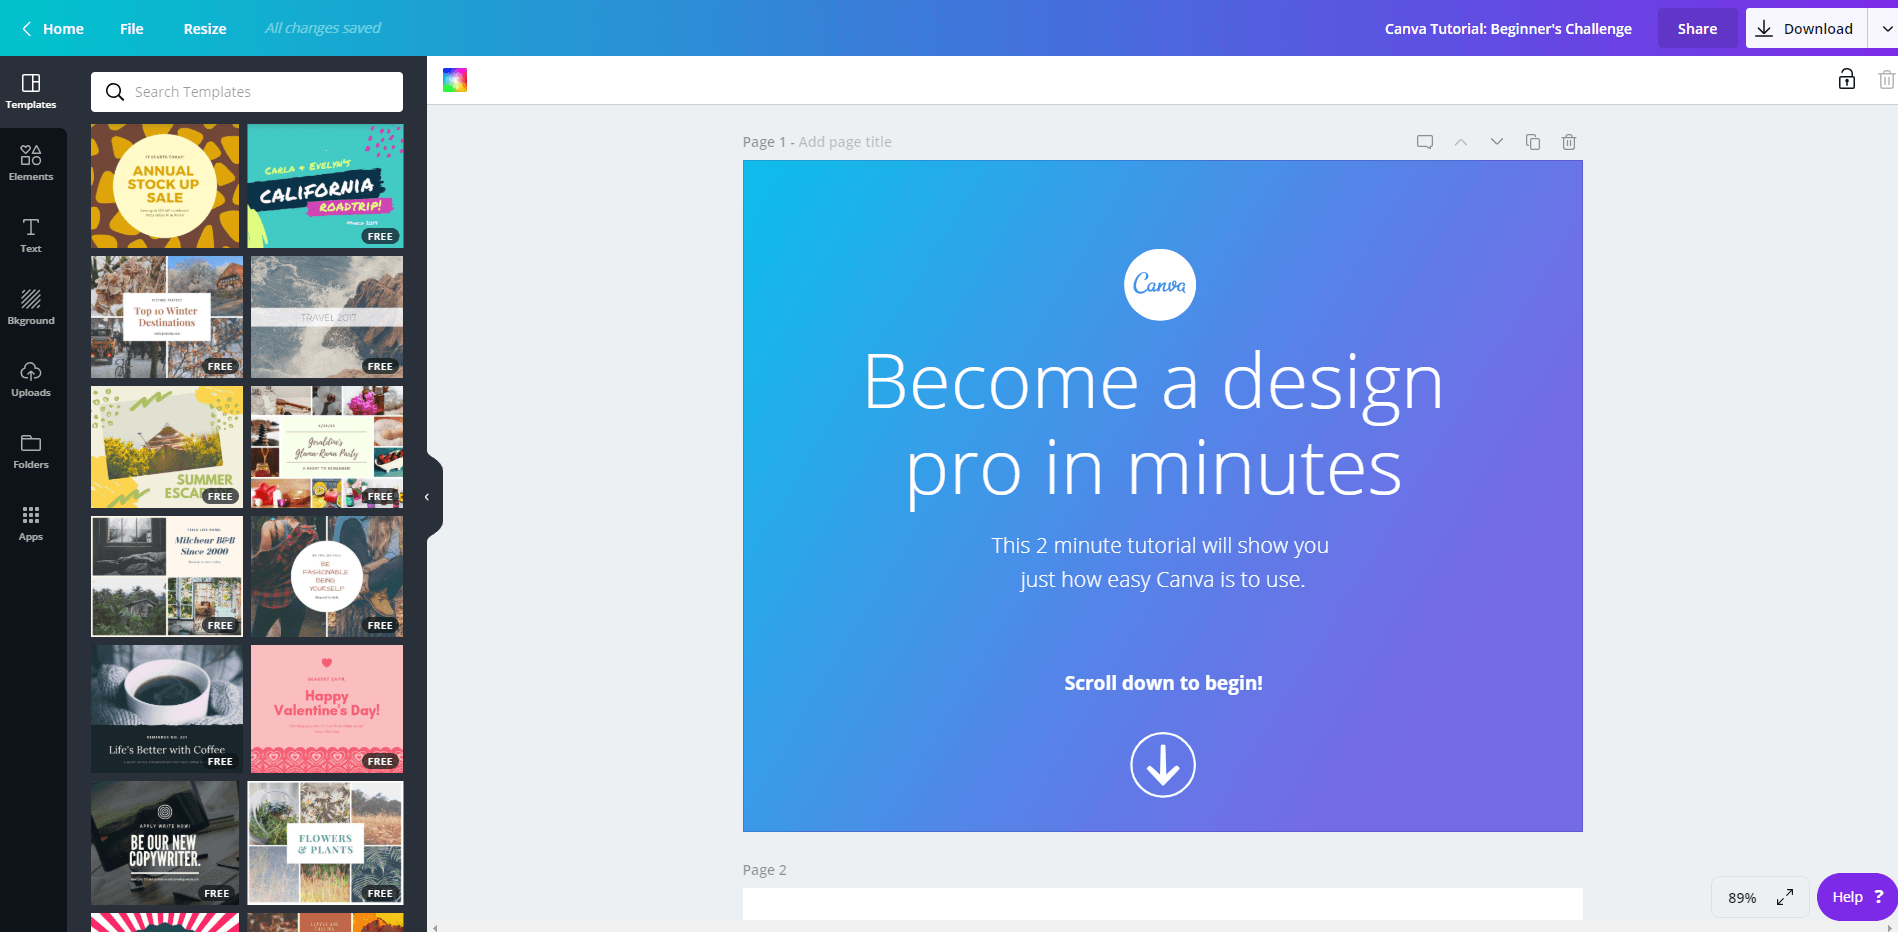
Canva Starter Challenge
This tutorial for beginners walks you through some of the basics of Canva. You’ll learn how to use color, images, objects, templates, and more.
This challenge would be ideal to set for students too.
Video
Get an idea of how to use Canva in less than two minutes in this video.
Check out Canva’s YouTube channel for more helpful video tutorials.
Quick Start Guide
Canva’s Quick Start Guide goes through:
- How to use the Canva homepage
- Finding your way around the Canva editor
- Creating your first design
- Publishing your design
- Design tips and tricks
Canva’s Design School
This is a resource hub for learning the basics of designing with Canva. The teaching section has workshops, lessons, and ideas from a community of education experts.
10 Designs You Can Create With Canva
You can create pretty much any graphic design you can think of using Canva.
Visit Canva’s template library to browse the templates you can adapt.
Let’s take a look at 10 sorts of designs that might be helpful in the classroom or wider school community.
- Posters
- Presentations
- Infographics
- Business cards
- Certificates
- Labels
- Newsletters
- Social graphics
- Class logo
- Blog header
1) Posters
Posters are staples for school communication and are a great way for students to demonstrate their learning.
You or your students can choose from pages and pages full of poster templates. There’s everything from inspirational quotes (like the one below), classroom rules or procedures, upcoming events, and so on.

2) Presentations
You might give presentations to staff, students, or parents, or perhaps your students present to the class from time to time.
There are options beyond PowerPoint and Google Slides; Canva offers lots of professional-looking templates that can blow your audience away!
 Loading...
3) Infographics
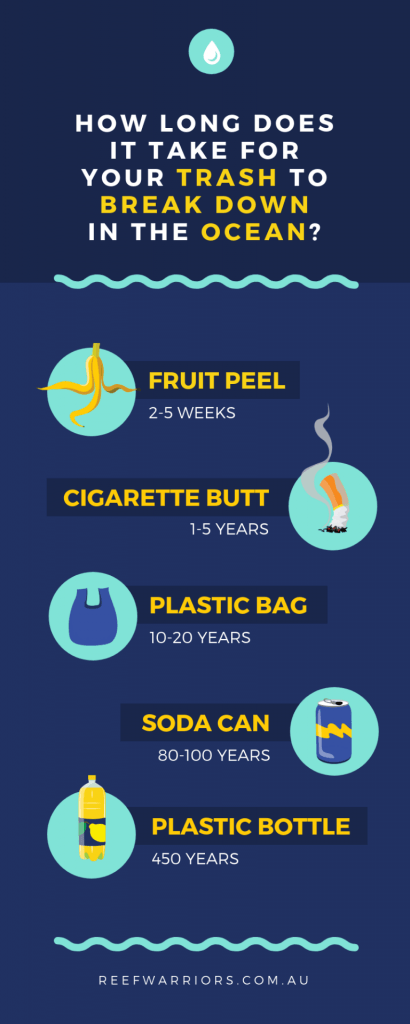
All sorts of infographics, charts, timelines, or graphs can be created with Canva to clearly present information. Infographics not only serve as a great visual aid for teaching but can also spice up blog posts.
This post walks you through the process of creating your own effective infographic.
4) Business Cards
A business card can be a handy way to display your contact information and links to your virtual spaces, including your blog.
You could display a ‘business card’ as an image on the sidebar of your blog, or print some out, laminate them, attach a magnet to the back, and send them home!
Including both the URL and including a QR code offers your community choice. Many people love using QR codes because they can simply use their phone’s camera to scan the code and they’ll be on the website in seconds.
Tips on QR codes:
- You can create a QR code for your blog with a transparent background using a tool like this one from Pinetools.
- You can then upload the QR code as an image and add it to your design.
- Show students and families how to scan a QR code using the camera of their phone or tablet to go straight to the blog.
5) Certificates
Create professional looking certificates with just a few clicks using Canva templates. These might be useful for student awards, graduation, sports, or certificates of appreciation for members of the school community.

6) Labels
What teacher doesn’t like a nicely labeled classroom? Clear and attractive labels can help you and your student get organized while brightening up the learning environment.
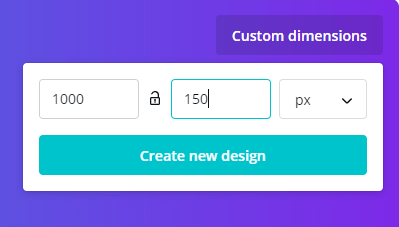
Tip on size: With Canva, you can create labels for equipment, books, and stationery that are a perfect fit. From your Canva homepage, click on ‘Custom dimensions’ on the right-hand side.
You can enter your required width and height in pixels, inches, millimeters, or centimeters.
You can also explore Canva’s label hub that makes it easy to design all sorts of labels that you can print yourself or order professional prints.
7) Newsletters
Whether you’re designing a newsletter to print or distribute digitally, a clear and attractive design can really help engage your readers and get your message across.
Once you decide on a template that works well, you can re-use the design to build the consistent ‘brand’ of your class or school.
 Loading...
8) Social Graphics For Your Blog
Have you got a class blog or teacher blog? Adding images or graphics to your posts is really going to add impact and make your content easier to read.
Bloggers also often create a graphic to accompany their blog post which makes a social media post stand out.
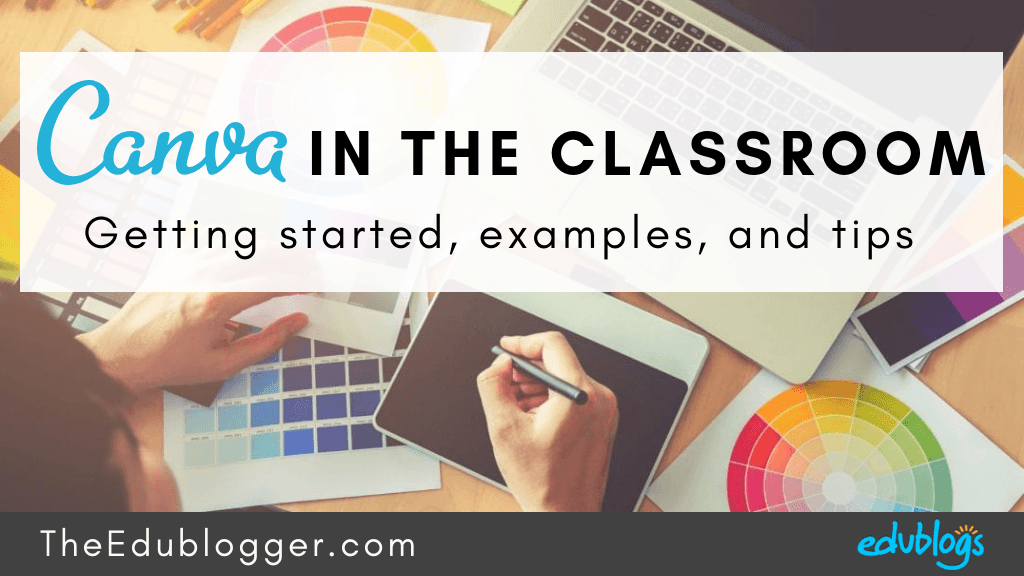
The graphic is generally just the title of the blog post with an image and the blog URL — perhaps with blogger’s name or social media handle too.
Whenever we create a new post on The Edublogger, we create a simple graphic to go with it. For example:
9) Class Logo
Build community and morale by coming up with a class name and logo. Perhaps students could have a go at designing a logo and then put it to a vote!
You could display your logo on your blog, on your bulletin board, on notes home, and use it as an avatar if you have class Twitter or Instagram accounts etc.

10) Blog Header
Many teachers and students like to give their blog a personal touch by using a custom header image. It’s easy to make your own custom blog header using Canva.
The first thing you’ll need to do is go Appearance > Customize in your blog dashboard. If you don’t see the Header Image section in the Customizer, it means your theme doesn’t support the use of a custom header image.
When you click on Header Image in the Customizer, it will show you the dimensions of your header image. Make a note of this. For example:
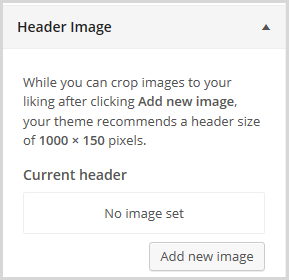
You’ll then go to Canva and click on ‘Custom dimensions’. You’ll need to input your required dimensions (e.g. 1000 x 150 pixels as per the example above).
You’ll then have a blank canvas to work from. The first thing you might want to do is drag across a simple rectangular grid.

This will allow you to then find a free image to drag over and it will fill the space of your design.
Next, you can add text and other elements to complete your design.
When you’re done, download your design as JPEG or PNG and follow these instructions to upload it to your blog. Easy!

Design Tips
I’m no design expert but it’s something I really enjoy learning about. Here are my 5 top tips for designing with Canva! I’d love to hear yours too.
- Less is more. Cliche but true. It’s easy to ‘over-design’ when there are SO many images, shapes, fonts, patterns etc. to use. Try not to use too many colors, keep text minimal, don’t use too many different fonts, and generally avoid clutter.
- Be consistent. You don’t need to reinvent the wheel every time you start a new design. In fact, consistency helps to create your ‘brand’. Consider sticking with the same sorts of fonts and colors etc.
- Can you read it? If you’re using text, make sure it can be read easily. Sometimes you need to change the colors of your design. Or if you’re putting text over an image, place it over a solid or semi-transparent shape. Alternatively, putting a filter over the image might help make the text stand out.
- Keep it neat. You want all the elements in your design to line up nicely. Canva shows you grid lines to make alignment easy, although it can sometimes take a little playing around to get your design just right!
- Look around. Once you start designing, it can be helpful to look around you for examples of designs you like. Canva’s template library is a great place to start! You can easily adapt your favorite designs to make them your own.
How Did Canva Come About?
The story of Canva began when 19 year old Australian Melanie Perkins found that students were struggling to learn the basics of graphic design.
Melanie partnered with Cliff Obrecht to launch Fusion Books, an online design tool that made it easy for students and teachers to create their own yearbooks.
Realizing this technology could be used more broadly, they launched Canva.
There is a lot written about the story of Canva. You can follow the timeline of events on their website or listen to this interesting interview with Melanie on NPR’s popular How I Built This podcast.
If you’re using Canva with students it could be interesting to share the story of how the company came about.
Melanie and Cliff were not long out of high school themselves when they dived into their entrepreneurial journey. No doubt they could offer inspiration for young people everywhere!
Show Us Your Designs!
Have you tried using Canva? We’d love to see your creations. Pop a link in the comment box below.
Do you have any other favorite tools for graphic design? Tell us about them.
We’d also love to know if you have any other Canva tips or tricks.
Happy designing!


Maravillosa información en este espacio, mil gracias.
I love Canva! it makes me feel like an expert designer! and extremely easy to use and fun!
Totally agree with you, Raquel!
I would love to use Canva at my school with Junior High students and I can provide direct supervision in the classroom. Students will love Canva and some will want to use it at home. My concern is that students will use it outside the classroom without direct supervision of an adult. This violates the terms of service. I’d love advice how I can use Canva with students under 13 and meet the terms of service.
Hi Jill, that’s a good question. I think the best course of action would be to reach out to Canva directly. This link shows how to email them https://support.canva.com/contact/customer-support/email/
I’d love to know what you find out as I know this would be helpful for others too. Good luck!
Kathleen
I love Canva and am wanting to add students….and was searching to find an easy way to do so.
Disappointingly… According to Canva…they absolutely need a parent’s signature to “legally” join.
https://www.canva.com/help/article/invite-teachers-and-students?query=13%2B
They provide a sample permission form.
The link provided from Richard Byrne has is outdated.
Love this blog! Great tips! 🙂
This is great
Good news. Nice blog.
Such a lovely blog. Cool blogger