
Getting More Out of Widgets!

40+ Popular Widgets For Your Blog
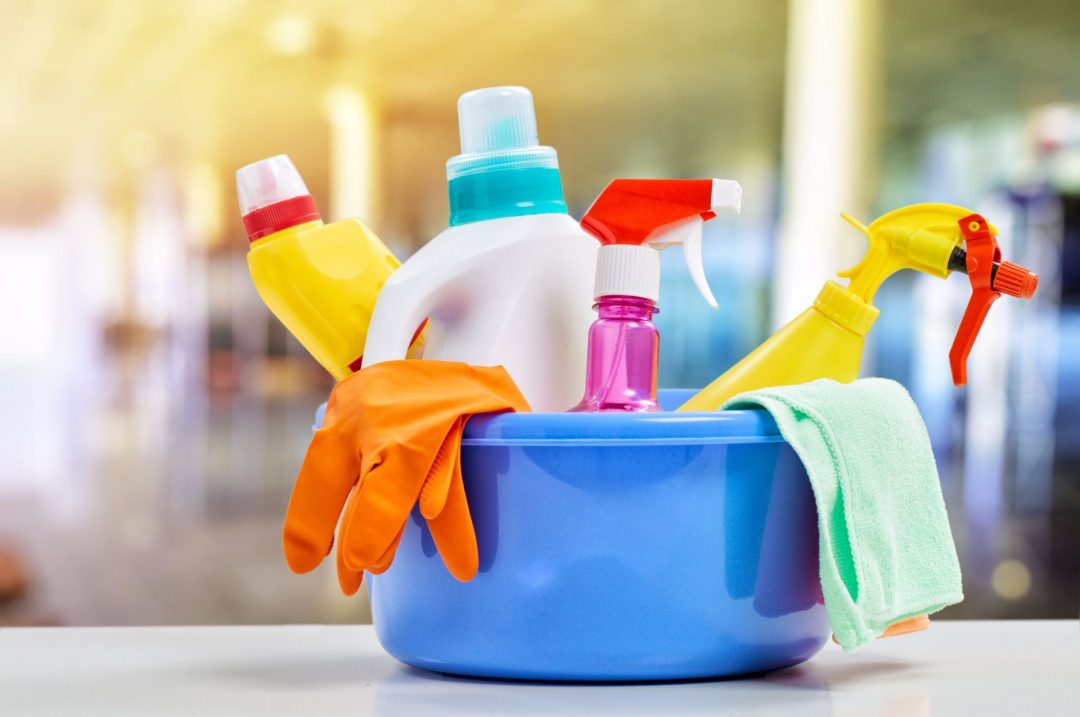
Organize And Spring Clean Your Blog In 10 Steps

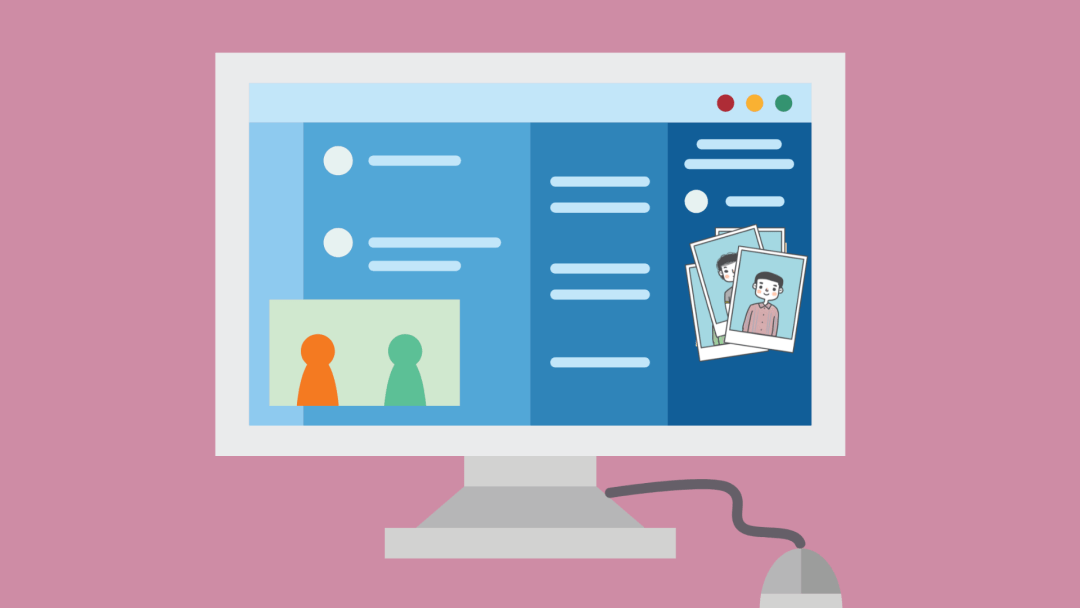
Adding Visitor Tracking Widgets to Your Site

DIY Decorating Your Blog for Any Holiday or Season
Blogging with an iPad: Choosing a web browser, setting up your theme and adding widgets
Top widgets for the sidebar of your class or student blog
A Quick Tour of Your New Edublogs Features!
Share Your Advice on “Must-Have” Widgets for Class and Student Blogs
Edublogs Gives Us New Freedom; Most ‘Embedding’ Code Can Now Be Pasted Directly into Our Blogs